

Most clogged torch lighters can be fixed at home. Trapped air, cheap butane residue, and jet debris cause the vast majority of failures, and a purge, a compressed-air cleaning, and a proper refill with high-purity butane solve most of them in under ten minutes. Skip metal probes and don’t reignite immediately after refilling. If you see a widened jet, a persistent hiss, or a cracked housing, replacement is the safer call.
TL;DR:
- Air pockets after refilling are the most common cause of clogs, and bleeding the tank helps release trapped vapor before refilling.
- Using triple-filtered butane consistently prevents residue buildup that narrows the jet and weakens the flame over time.
- Compressed air blasts and gentle cleaning with isopropyl alcohol effectively clear most debris without damaging the jet orifice.
- Ignition issues often stem from misaligned electrodes or a faulty piezo igniter, not a fuel supply problem.
- Replacing cracked housings or widened jets is essential, as damage beyond cleaning limits makes the lighter unsafe or impossible to repair.
Table of Contents
- What Causes a Clogged Torch Lighter?
- Quick Fixes to Try Right Now
- How to Purge and Refill a Torch Lighter Correctly
- Cleaning Clogged Burner Jets Without Ruining Them
- Sparks but No Flame? Check the Igniter Next
- When Is a Torch Lighter Beyond Repair?
- Our Take on Preventing Clogs Before They Start
- Get a Torch Lighter Built to Resist Clogging
- Sources
What Causes a Clogged Torch Lighter?
A torch lighter runs on a simple system: pressurized butane, a jet orifice fine enough to shape a flame, and a piezo igniter to spark it. Clog any part of that chain, and the whole thing quits.
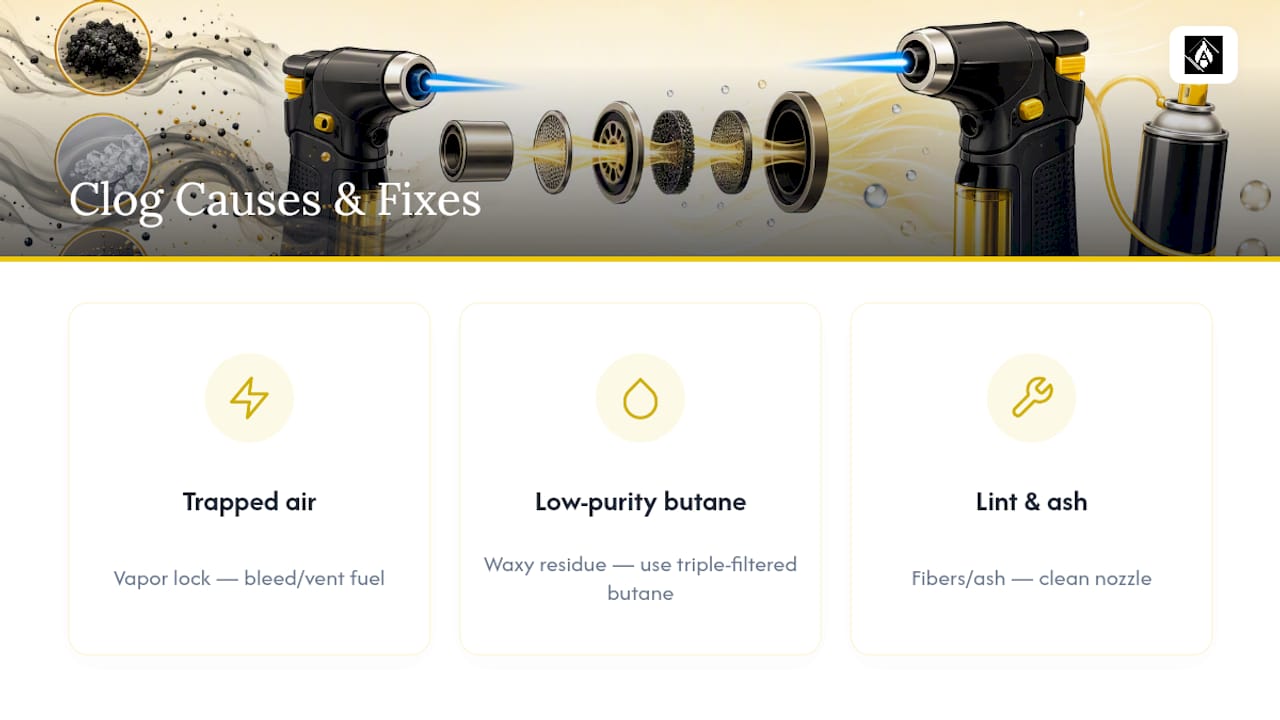
Trapped air is the most common culprit. When you refill a tank, air pockets sometimes get sealed in alongside the butane, creating what repair techs call vapor lock. The lighter sparks fine but the flame sputters or never catches, because air is blocking fuel from reaching the jet consistently.
Low-purity butane is the second big offender. Off-brand cans often carry impurities and moisture that leave behind a waxy residue inside the nozzle over repeated refills. This buildup narrows the jet channel gradually, so the flame gets weaker fill after fill until it stops entirely. Using triple-filtered butane largely prevents this.
Lint, ash, and pocket debris round out the list. Torch lighters carried loose in a bag or pocket pull in fibers that settle into the jet openings. None of these three causes requires a new lighter. They require a bleed, a clean, and the right fuel.
Quick Fixes to Try Right Now
Before disassembling anything, run through this checklist. Most torch lighter troubleshooting starts and ends here, and it takes less time than driving to a smoke shop for a replacement.
- Turn the flame control dial all the way to the lowest setting (the “minus” side) before doing anything else.
- Give the jets a few short bursts of canned compressed air held about an inch away.
- Bleed the valve to purge any trapped air. Hold the lighter upside down and press the fill valve for a couple seconds until hissing stops.
- Check the fuel level through the viewing window. If it’s low, refill using triple-filtered butane rather than whatever’s cheapest at the counter.
- After refilling, wait 5 to 10 minutes before testing. A cold tank won’t vaporize fuel properly no matter how many times you click the trigger.
- If you’re getting sparks but no flame, the fuel path is the problem, not the ignition system. Skip ahead to fuel and jet checks instead of fiddling with the flint wheel.
Never insert a needle, paperclip, or any metal tool into the jet opening, even if it looks like the fastest fix. That single mistake causes more permanent damage than every other issue on this list combined.
How to Purge and Refill a Torch Lighter Correctly
Bleeding a lighter isn’t optional maintenance. It’s the step most people skip, and it’s the reason so many “broken” lighters spark without ever producing flame.
- Set the flame adjustment wheel to (-) and move away from open flames or anything flammable before you start.
- Turn the lighter upside down so the fill valve faces up, matching the nozzle tip of your butane can to the valve.
- Press down firmly for 3 to 5 seconds. You should hear a hiss as trapped gas and air escape, which is normal and expected during purging.
- Repeat two or three times until the hiss shortens and sounds consistent, a sign the tank is mostly empty and ready for fresh fuel.
- Refill with high-purity, triple-filtered butane, holding the can steady for 3 to 5 second bursts. Stop before the tank feels full. Overfilling causes leaks and flooding, not a bigger flame.
- Set the lighter down and wait 5 to 10 minutes. Cold butane needs time to warm to room temperature and vaporize properly, and the internal O-rings need a moment to seal back into shape after the pressure change.
Pro Tip: Do a short test purge before your real refill, especially if the lighter has been dead for weeks. Clearing stale gas first means the fresh butane goes in clean, and you can fine-tune flame height with the adjustment wheel the moment you get a steady flame.
Cleaning Clogged Burner Jets Without Ruining Them
Once fuel flow is sorted, a weak or sputtering flame usually points to a dirty jet. Soot, lint, and hardened butane residue collect right at the nozzle opening, and cleaning it wrong causes more damage than leaving it alone.
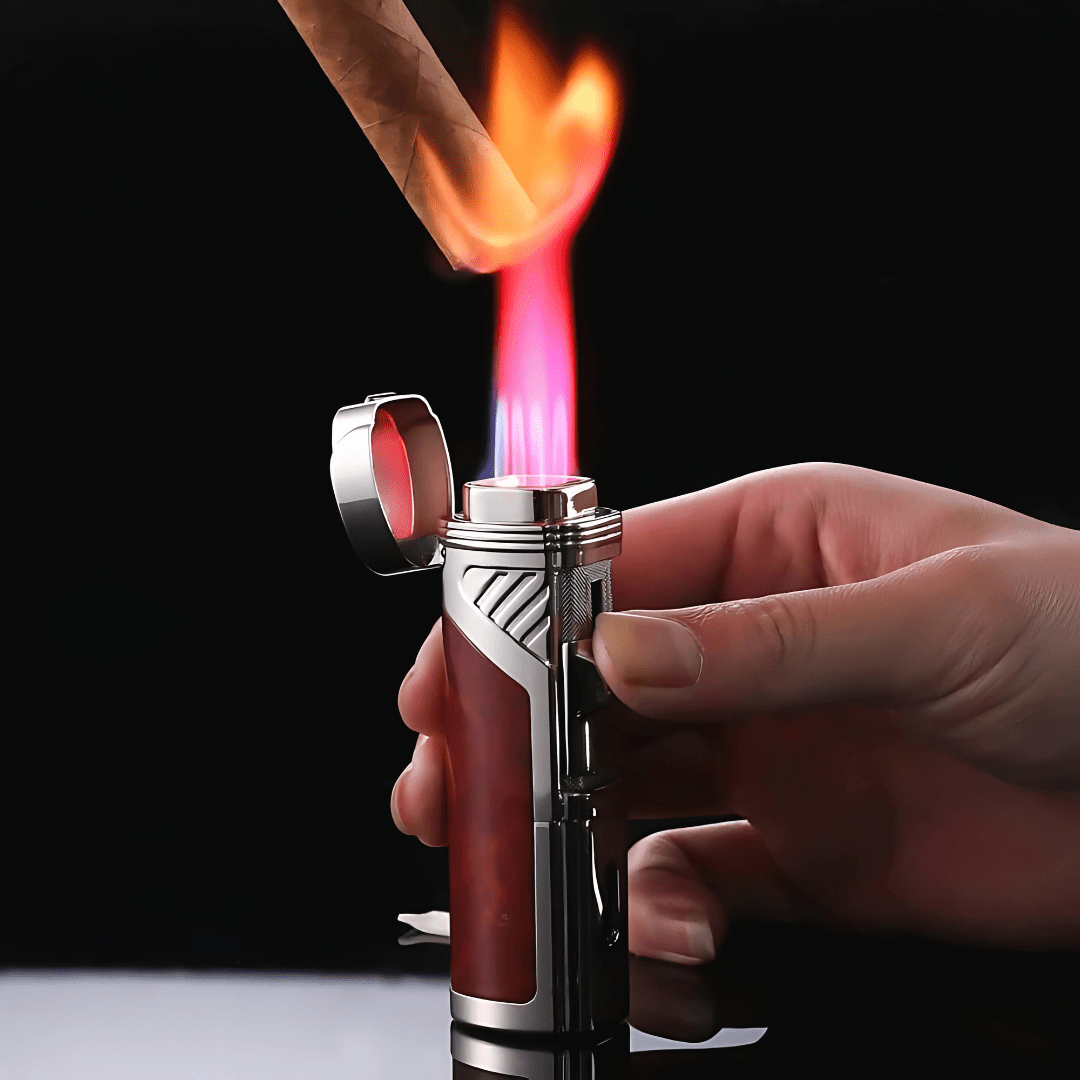
Start with canned compressed air. Hold the straw attachment about an inch from the jets and give it several short bursts rather than one long spray, which can force debris deeper instead of clearing it. This alone resolves clogging in a large share of cases without any disassembly.
If residue survives the compressed air, move to isopropyl alcohol at 90% concentration or higher. Dip a Q-tip or soft nylon brush, not a stiff one, and gently work the jet opening and surrounding chamber. Let the lighter air-dry for a full 15 to 20 minutes before attempting ignition, since residual alcohol vapor near an open flame is a real fire hazard.
- Never use metal needles, pins, or paperclips on the jet orifice. The opening is machined to precise tolerances, and metal contact can scratch or widen it permanently.
- Never blow into the jet with your mouth. Moisture from your breath causes corrosion and adds contaminants you’re trying to remove.
- Repeated fills with low-quality butane rebuild residue faster than any cleaning routine can keep up with, so the fix has to include better fuel going forward.
Sparks but No Flame? Check the Igniter Next
If cleaning and refilling didn’t solve it, the problem might not be fuel at all. It might be ignition.
The distinction matters: sparks with no flame almost always trace back to fuel delivery, whether that’s trapped air, a clogged jet, or an empty tank. No spark at all, or a spark that only fires occasionally, points to the flint or the piezo igniter itself.
- Inspect the electrode tip for visible misalignment. A gap that’s too wide or too narrow prevents a consistent spark.
- Use a wooden toothpick, never metal, to gently nudge the electrode wire back into position. Bench-repair guides consistently recommend non-metal tools for exactly this reason.
- Check flint-style models for a worn-down flint. Replacing it is usually a five-minute fix with a small replacement kit.
- Test the piezo igniter by listening for a distinct click. A dull or silent click usually means the igniter itself has failed internally.
Pro Tip: Small electrode misalignments respond to a gentle nudge, not force. If the igniter mechanism is sealed and you suspect internal electrical failure, that’s the point to contact the manufacturer rather than opening the housing further.
When Is a Torch Lighter Beyond Repair?
Not every clog is fixable, and knowing when to stop saves you both time and a possible burn. A widened or scratched jet orifice, usually from a past metal-probe mistake, permanently distorts flame shape no amount of cleaning restores. A hiss that continues while the lighter sits idle signals a damaged seal, which is a fuel leak and a real safety risk, not a maintenance issue.
Cracked housings and seals that won’t hold pressure also fall into replacement territory. At that point, most fixable failures have already been ruled out, and what’s left is mechanical damage repair simply can’t undo. Check the manufacturer’s warranty before assuming you’re stuck buying new. Many brands cover defects for a set period, and some cover repair costs directly. Dispose of any lighter with a confirmed leak properly, empty of butane, rather than tossing it in household trash.
Our Take on Preventing Clogs Before They Start
We build every Allurecart lighter around one principle: a torch should be as easy to maintain as it is to admire. That means serviceable jets you can actually clean, and a spark ignition system engineered to stay reliable well past the honeymoon period most cheap torches never survive.
If you use your lighter daily, run a compressed-air pass through the jets once a month. It takes thirty seconds and prevents most of the residue buildup that eventually forces a full teardown. Store it with the cap or lid closed, and if it lives in a pocket, keep it away from lint-heavy fabric linings. Fuel matters as much as the hardware. We recommend triple-filtered butane every time, since it’s the single cheapest insurance policy against future clogs.
— Allurecart
Get a Torch Lighter Built to Resist Clogging
A lighter that’s easy to bleed, clean, and refill saves you the whole repair process altogether. Allurecart’s TORCH LIGHTER is designed with accessible jets and a reliable spark ignition system, so routine maintenance stays quick instead of becoming a project.
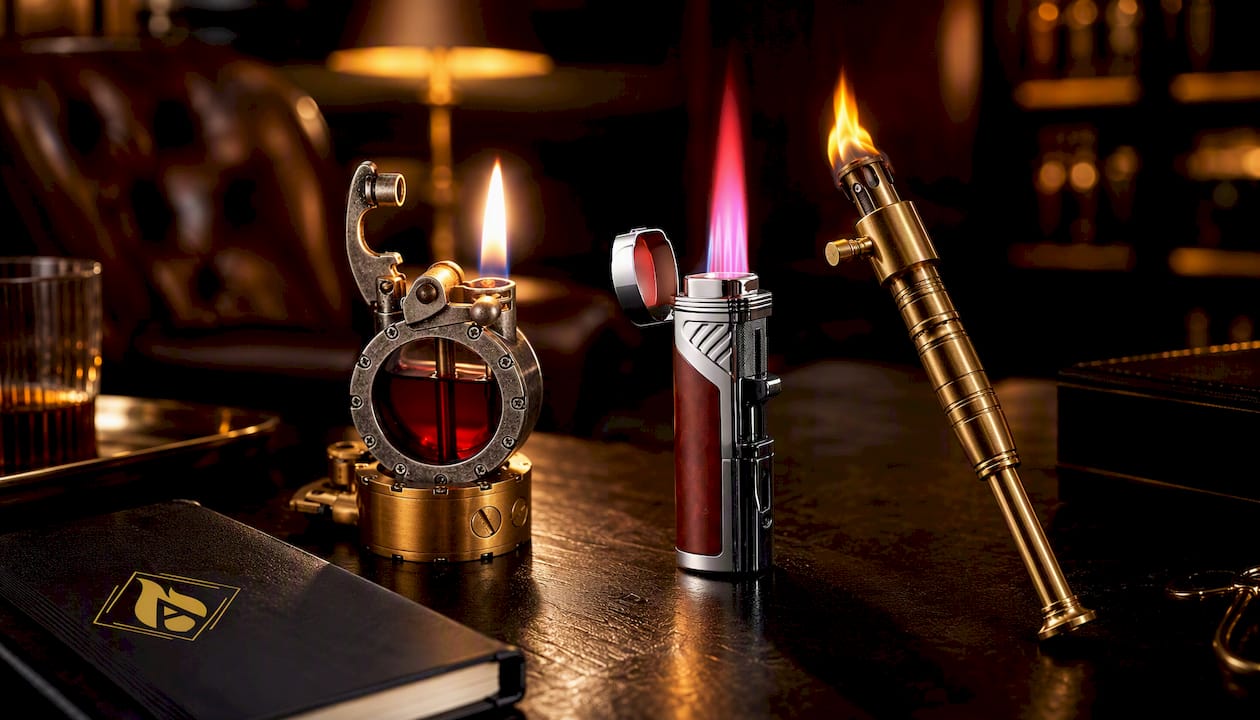
If you’re drawn to something with more character on your shelf, the Vintage Trench Lighter pairs collectible styling with the same serviceable internals, while the JET LIGHTER is built for windproof, high-output performance if you need a flame that holds up outdoors. Every Allurecart lighter ships with warranty coverage and a straightforward returns process, and if you run into an issue this guide didn’t cover, our support team can walk you through it directly. Browse the full torch lighter collection and pick the one that matches how you actually use it. For accessory pairings and local smoke shop resources, Smokers Alley’s accessory guides are worth a look too.
Sources
- Torch Lighter Not Working? 5 Fast and Easy Fixes | Lighter Point
- How to Fix a Cigar Torch Lighter | Best Cigar Blog