

Most dead lighters aren’t broken. They’re suffocating on trapped air. Butane lighter troubleshooting almost always comes down to three checks run in order: purge trapped air (vapor lock), refill with high-purity butane, then inspect the jet or ignition. Vapor lock is the single biggest cause of failure, and purging the tank completely before refilling usually restores ignition without any tools beyond a small screwdriver.
Run these three checks before anything else:
- Does it click? No click means an igniter problem, not a fuel problem.
- Do you hear a hiss when you press the fill valve? Silence means the tank is empty or the valve is stuck.
- Does the flame respond when you slide the adjuster? No response points to a stuck or gunked valve.
Pro Tip: Skip the internet forum debates about “shaking the can first.” Orientation and patience during refill matter more than brand loyalty.
Stop immediately if you notice persistent hissing after a refill, a cracked or warped casing, or any seal that looks swollen or discolored. Those are fuel-system failures, not troubleshooting projects.
Key Takeaways
Fixing a butane lighter almost always follows one order: purge trapped air, refill with high-purity butane, then check ignition and jets before considering replacement.
| Point | Details |
|---|---|
| Purge before refilling | Vapor lock, not empty fuel, causes most ignition failures, so bleed the tank fully first. |
| Wait after refilling | Let the lighter sit at least two minutes before testing so pressure and temperature stabilize. |
| Isolate fuel vs. ignition | A manual match test confirms whether the problem is gas flow or the spark system. |
| Clean with air, not metal | Use compressed air across the nozzle and a nylon brush; never insert pins into the orifice. |
| Replace when seals fail | Allurecart’s JET LIGHTER and TIGER LIGHTER offer reliable ignition when repair no longer makes sense. |
Table of Contents
- Fast Troubleshooting Flow You Can Run in 10 Minutes
- Fuel and Refilling: How to Purge Air and Avoid Vapor Lock
- Diagnosing and Fixing Flint, Wheel, and Piezo Ignition Problems
- Cleaning Jets and Clearing Nozzle Clogs Safely
- Hissing, Leaks, and Seal Problems: When to Stop
- When to Stop Repairing and Seek Professional Help
- Checking and Adjusting Flame Height Beyond the Basics
- Inspecting the Striker Wheel and Spring Tension
- How Temperature and Weather Affect Lighter Performance
- Proper Storage to Prevent Future Problems
- Sources
Fast Troubleshooting Flow You Can Run in 10 Minutes
Work through these five steps in order and stop as soon as the lighter fires reliably.
- Purge the tank. Hold the lighter upside down and press the fill valve with a small flathead tool for 3 to 5 seconds until the hissing stops completely.
- Refill correctly. Keep the lighter inverted, press the butane can’s nozzle into the valve, and use short bursts rather than one long fill.
- Wait it out. Set the lighter down for at least two minutes. Manufacturer guidance from FireFast Torch recommends this stabilization window before the first test light, since internal pressure and temperature need to even out.
- Test flame height and igniter. Adjust the flame to medium and listen for a clean click, not a grinding or hollow sound.
- Move to cleaning if it still won’t light. A properly purged, freshly filled lighter that still misfires almost always has a clogged jet, not a fuel issue.
Pro Tip: Buy triple-refined butane. Cheap fuel leaves oily residue that clogs jets within weeks, turning a five-minute fix into a repeated chore.
Safety callout: Always purge and refill outdoors or in a well-ventilated space, away from any open flame, pilot light, or space heater.
Fuel and Refilling: How to Purge Air and Avoid Vapor Lock
Air trapped in the tank blocks butane from reaching the jet, even when the tank feels full. This is vapor lock, and it’s the reason a lighter can be topped off repeatedly yet never light. Merely adding more fuel without bleeding the tank first just traps more air behind it.
The purge sequence:
- Hold the lighter upside down over a safe surface.
- Insert a small flat screwdriver or dedicated purge tool into the fill valve and press gently.
- Listen for hissing. Keep pressing until the hiss stops, which signals the tank is fully empty.
- Repeat once more to confirm silence before refilling.
Pro Tip: Count your purge time out loud. Most tanks clear in under 10 seconds, and rushing this step is the number one reason refills fail on the first try.
For the refill itself, keep the lighter inverted, use short bursts rather than a continuous stream, and give it 1 to 5 minutes to warm and stabilize before testing. Overfilling forces liquid butane out through the valve instead of vaporizing cleanly.
Vapor lock symptoms to confirm: the tank feels full when shaken, but no hiss occurs on valve press, and the igniter clicks with zero flame response.
| Signal | Likely Cause |
|---|---|
| Full-feeling tank, no hiss on purge | Trapped air, needs re-purge |
| Hiss continues past 10 seconds | Valve stuck open, stop use |
| Flame after wait time, none before | Normal stabilization lag |
Diagnosing and Fixing Flint, Wheel, and Piezo Ignition Problems
A spark with no flame points to fuel; no spark at all points to the ignition system. That single distinction saves you from replacing parts that were never broken.
Run these tests to isolate the cause:
- Dim the room and watch for a visible spark when you click the igniter.
- Listen for the piezo’s snap. A dull or absent click usually means a cracked ceramic element.
- Light the lighter manually with a match at the jet. If gas flows and burns, the fuel path is fine and the problem is electrical.
For flint-wheel models, check spring tension under the striker wheel and confirm the flint hasn’t worn down to a nub. For piezo models, a misaligned or oxidized electrode tip is the usual culprit; technicians recommend a roughly 1/8 inch gap and cleaning the tip with high-purity isopropyl alcohol.
Pro Tip: Use a plastic spudger, not a metal tool, when nudging the electrode. Metal contact can short the piezo path or crack the ceramic insulation permanently.
- Confirm spark visibility in low light.
- Run the manual-match test to isolate fuel versus ignition.
- Replace the module only if spark is completely absent after cleaning and gap adjustment.
Cleaning Jets and Clearing Nozzle Clogs Safely
A weak, yellow, sputtering flame is the calling card of a clogged jet. Clean it correctly and you’ll usually get back a tight blue cone within minutes.
The safe cleaning order matters:
- Purge the tank first so no fuel sprays during cleaning.
- Brush the nozzle exterior gently with a soft nylon brush.
- Blast compressed air across the nozzle opening, not straight into it, to avoid deforming the spray pattern. This air-across-not-into technique is standard advice for torch-style units.
- Wipe surrounding soot with a cotton swab dampened in 90%+ isopropyl alcohol, keeping it away from the orifice interior.
Tools worth keeping on hand: a nylon brush, a can of compressed air, isopropyl alcohol, cotton swabs, and a silicone nozzle cap for storage. If you work on small torch nozzles often, the cleaning techniques covered in this guide to cleaning vape atomizers translate well, since both use fine orifices that clog the same way.
Pro Tip: Never insert a pin, needle, or wire into the orifice. Metal probes widen the hole microscopically, and a widened jet never sprays correctly again.
- Clean using the sequence above.
- Refill and wait the standard two minutes.
- Test on medium flame and watch for a steady inner cone with no sputtering.
Hissing, Leaks, and Seal Problems: When to Stop
Some hissing is normal. Hissing during a purge or immediately after a refill means air or excess pressure is escaping as designed. Hissing that continues 10 minutes after refilling, with the valve fully closed, means a leaking seal or stuck valve, and that’s a different problem entirely.
To confirm a real leak: smell for butane at arm’s length (never close to your face), or run a soap-bubble test around the valve seam in a safe, ventilated spot.
- Stop using the lighter immediately if hissing persists.
- Move it outdoors, away from any ignition source.
- Do not attempt to pry open or reseal the valve yourself.
- Cracked casing: replace, don’t repair.
- Head or body glowing warm but not hot: likely normal after heavy use.
- Body hot to the touch with no recent use: possible internal failure, stop immediately.
Pro Tip: Rest your palm flat against the body after use. Warm is normal; hot enough to make you flinch means something inside has failed.
Tools and Supplies to Keep on Hand
Stock a small kit: triple-refined butane, a nylon brush, compressed air, cotton swabs with 90%+ isopropyl alcohol, a small flat screwdriver, a plastic spudger, and a silicone nozzle cap. Impurities in cheap butane leave oily residue that clogs jets and valves over months of use, so premium fuel isn’t a luxury purchase, it’s cheaper maintenance.
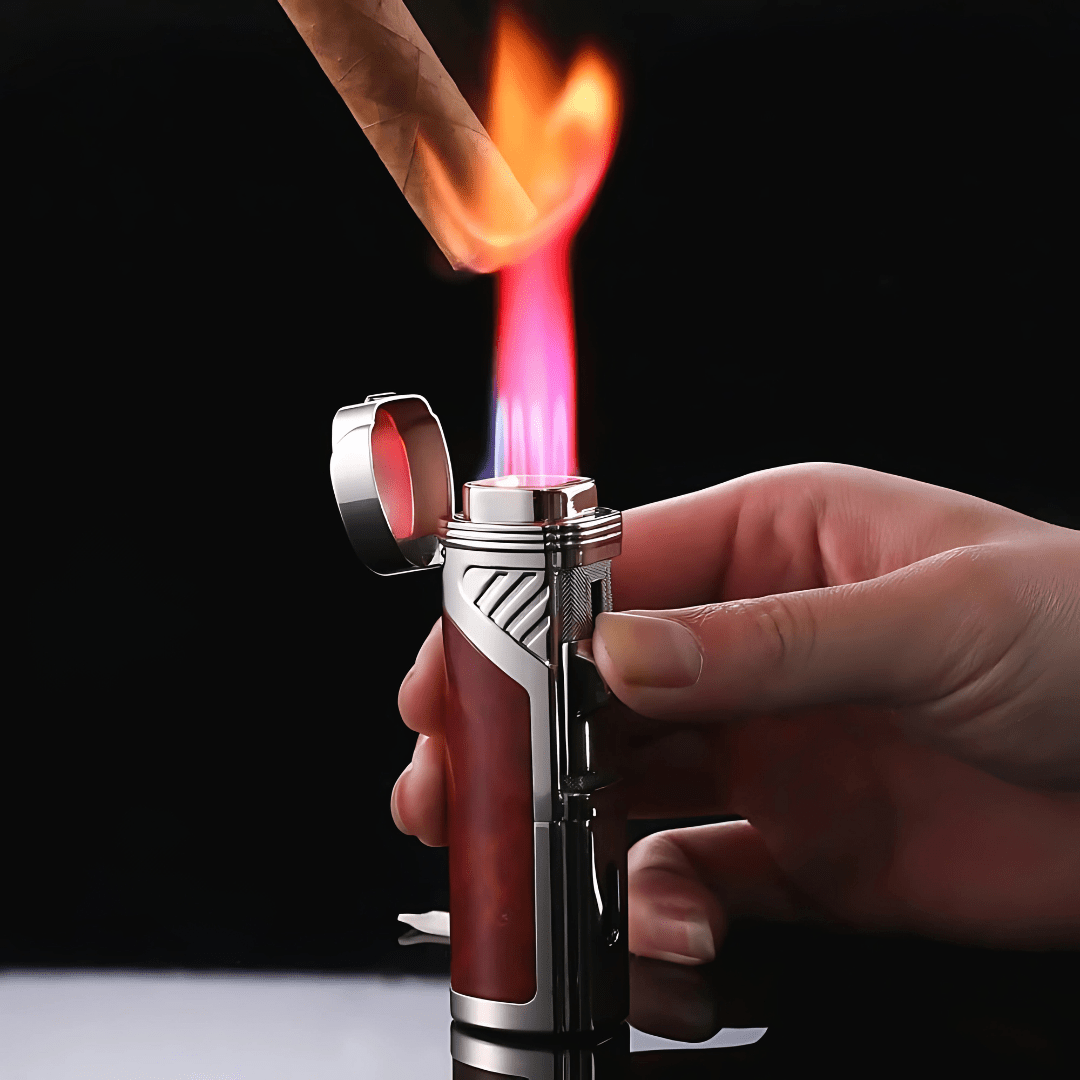
If repeated repairs stop holding, a well-built replacement like Allurecart’s windproof jet torch lighter or premium revolver lighter with a smooth wheel mechanism is worth considering.
When to Stop Repairing and Seek Professional Help
Stop DIY work the moment you see persistent hissing, a stuck-open valve, visible heat damage, or a casing that’s cracked or lost structural rigidity. These aren’t cleaning problems, they’re safety problems.
- Locate your purchase receipt or serial number.
- Check the manufacturer’s warranty window before attempting any repair.
- Contact the manufacturer’s repair or return process instead of improvising.
- Keep original packaging when possible, since some manufacturer repair forms request it.
- Never mail a pressurized or fuel-filled lighter without checking carrier restrictions first.
- Empty the tank completely through a full purge cycle before any shipping or disposal.
Manufacturer knowledge bases explicitly warn against overfilling and recommend contacting warranty service directly for anything beyond routine cleaning.
A lighter that hisses after a full purge and refill isn’t asking for a repair. It’s telling you the seal has already failed, and no amount of cleaning fixes a compromised valve.
Checking and Adjusting Flame Height Beyond the Basics
Most people know how to slide the flame adjuster up or down. Fewer know that flame height also reveals fuel and airflow health, not just intensity preference. A flame that won’t climb past a short, weak stub even at maximum adjustment usually means partial vapor lock or a jet that’s still partly clogged, not a broken adjuster.
Test flame height methodically: set the adjuster to minimum, then slowly increase it while watching the flame shape. A healthy torch lighter produces a tight, roaring blue cone with a visible inner flame by the midpoint of the adjuster’s range. If the flame stays yellow, flickers, or lifts off the nozzle at higher settings, air is mixing improperly with the fuel, often from a nozzle that needs the cleaning sequence covered earlier.
Overfilled tanks cause a different symptom: an unusually large, unstable flame that sputters and pops rather than burns cleanly. If that happens right after a refill, let the lighter rest for the full stabilization window and retest before assuming something’s broken.
For single-flame lighters, an adjuster that feels loose or doesn’t hold its setting usually means the internal valve spring has weakened. That’s a mechanical wear issue, not a fuel issue, and it typically shows up after years of daily use rather than after a single bad refill.
Inspecting the Striker Wheel and Spring Tension
Flint-wheel lighters fail mechanically more often than they fail from fuel problems, and the striker wheel is usually where it starts. Spin the wheel with your thumb and feel for resistance. A wheel that spins too freely, with no grip on the flint, has usually worn smooth from years of use and needs replacement rather than repair.
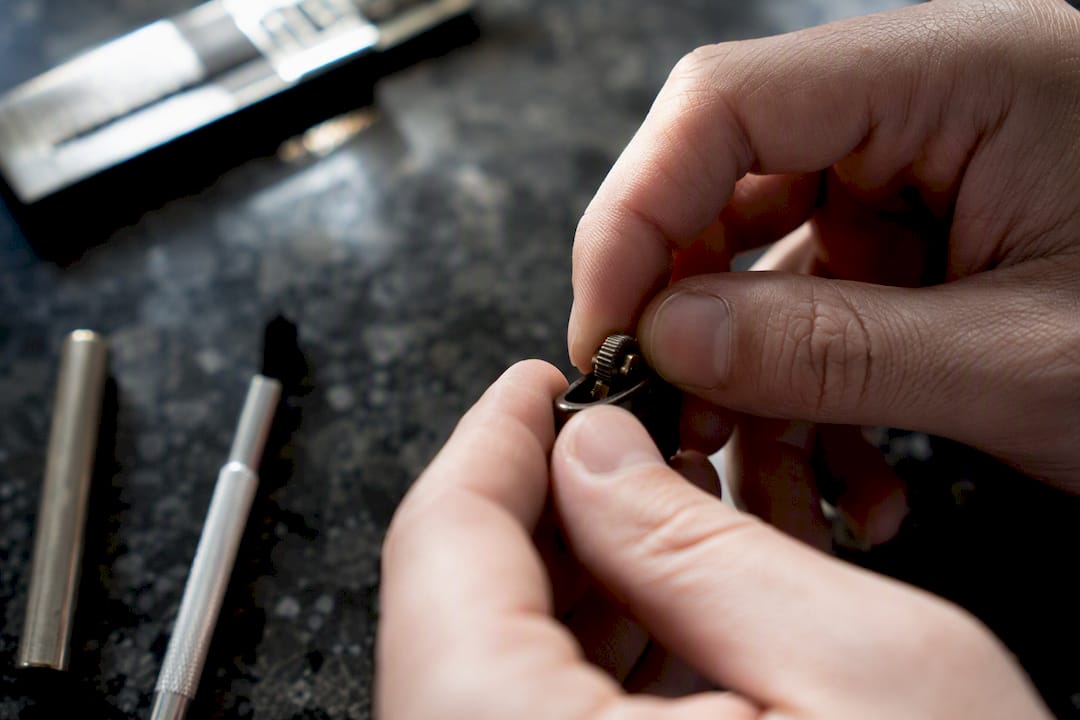
Check spring tension next. The flint sits on a small spring-loaded post beneath the wheel, and that spring needs enough pressure to hold the flint firmly against the wheel’s teeth. If the flint rattles loosely in its channel, the spring has either weakened or lost its seating. On many wheel lighters, you can access this by unscrewing the small base cap, though designs vary enough that forcing a stuck cap risks stripping it.
A worn flint produces a weak, inconsistent spark even when the wheel and spring are both fine. Flints are consumable and typically last several weeks under regular use, so replacing a dull flint should always be the cheapest, first-tried fix before touching the spring or wheel assembly.
For collectible or mechanical designs, like steampunk-style lighters with visible gear work, mechanical wear is part of the character but still needs the same spring and flint checks as any functional model.
How Temperature and Weather Affect Lighter Performance
Butane behaves differently depending on temperature, and that’s not a lighter defect, it’s chemistry. Below roughly 32°F, butane vaporizes too slowly to build pressure, which produces weak flames or no ignition at all even in a fully purged, freshly filled lighter.
Cold-weather symptoms look a lot like vapor lock: a hiss on valve press but a flame that won’t sustain, or an igniter that sparks with nothing to ignite. Before assuming a mechanical fault in cold conditions, warm the lighter in a pocket or cupped hands for a minute or two and retest.
Heat causes the opposite problem. Direct sunlight or a hot car interior can push internal pressure high enough that the flame surges unpredictably or the valve vents slightly on its own. Never leave a butane lighter, torch-style or disposable, on a dashboard or near a heat source for extended periods.
High altitude changes the pressure balance too, since thinner air affects how butane vaporizes at the jet. If a lighter that worked fine at sea level struggles at elevation, that’s an environmental effect, not damage, and it usually corrects itself back at lower altitude.
Proper Storage to Prevent Future Problems
Store lighters upright, valve side up, so butane stays pooled away from the fill valve and ignition components. Lying a lighter on its side for extended periods lets fuel residue seep toward parts that should stay dry.
Keep lighters away from direct sunlight, car interiors, and anywhere temperatures swing widely, since repeated heat cycling stresses seals faster than steady room temperature does. A drawer or cabinet at normal room temperature is ideal.
Cap the nozzle when a lighter isn’t in daily use. A silicone nozzle cap keeps dust, lint, and pocket debris from working into the jet, which is one of the most common causes of the clogs covered earlier. For pocket carry, that small cap does more preventive work than any cleaning routine.
Finally, don’t store a lighter completely full for months at a time. Slight pressure changes from temperature swings are easier on a tank that isn’t packed to capacity. Collectible pieces, like a vintage watch lighter or WW1 trench lighter, benefit from the same storage logic even when they’re displayed more than used.
Author perspective: quick tricks a technician relies on
The purge, refill, clean sequence works because it respects cause and order. I stick to one premium butane brand, store lighters upright, and cap the nozzle for pocket carry. The moment a valve or seal shows signs of failure, stop. That’s not a repair step, it’s a boundary.
Replacement Option: When Repair No Longer Makes Sense
If your lighter fails the safety checklist, meaning persistent hissing, a cracked casing, or a valve that won’t seal, replacing it is safer and often cheaper than chasing a repair. That decision doesn’t need to feel like a downgrade.
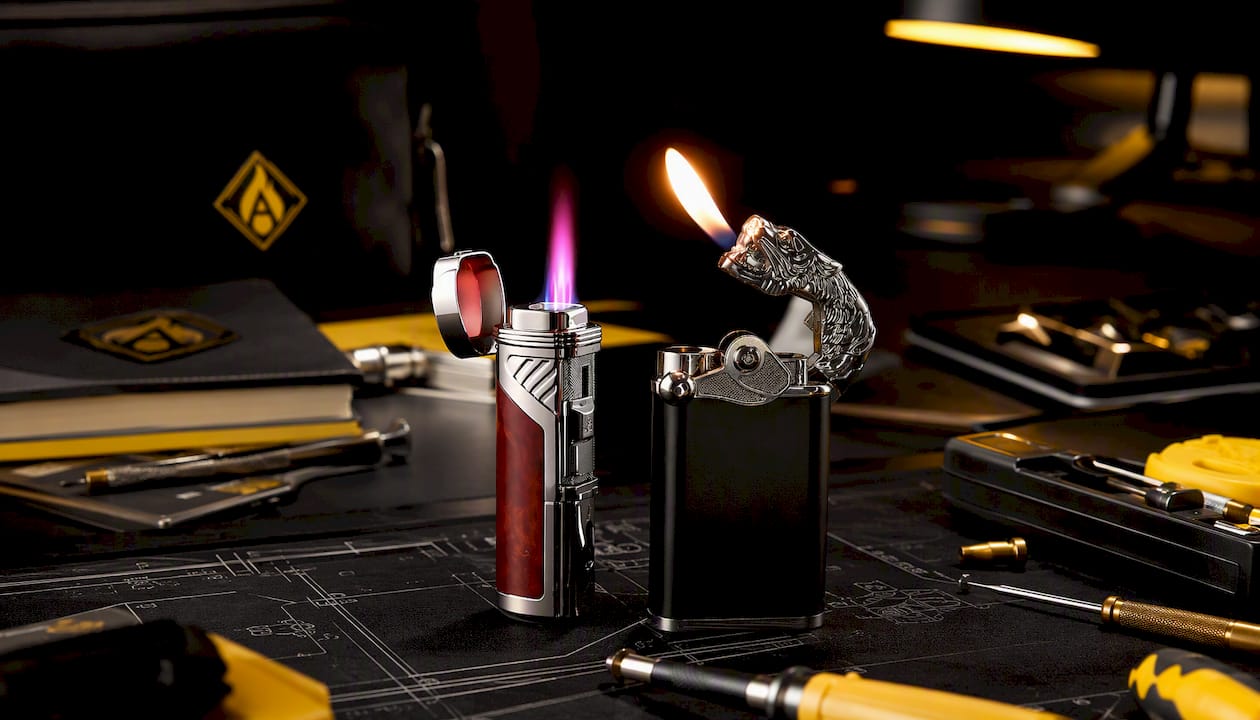
Allurecart builds reliability into the ignition system itself, so you’re not troubleshooting a flimsy piezo six months in. The JET LIGHTER delivers a windproof, high-output flame built for daily use, while the TIGER LIGHTER pairs a bold, collectible design with the same dependable spark ignition. Both ship with the fuel-system quality that prevents the exact vapor lock and jet-clogging problems covered above. Browse either model, and if your order clears $70, shipping is free worldwide, no matter where you’re reading this from.
Sources
- FireFast® Torch
- Why Your Butane Lighter Won’t Light (And How to Fix It in 2 Minutes)
- Rapidrepair
- How To Fix A Torch Lighter That Won’t Stay Lit? | Solid Flame Fixes
- Common Problems with a Butane Lighter and Fixes